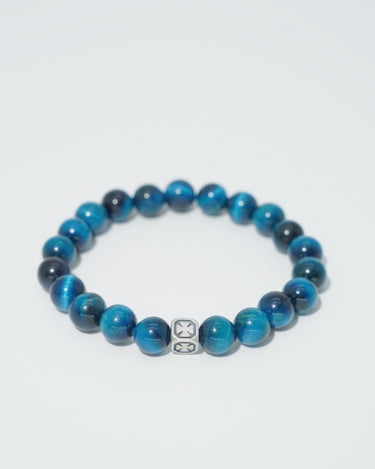
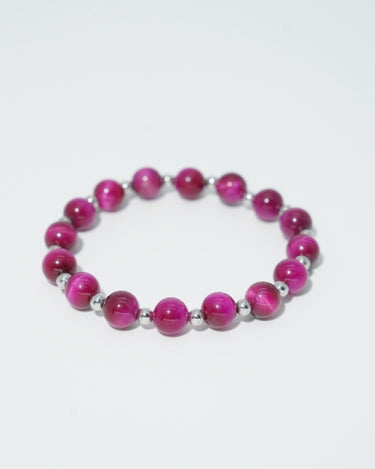
How to make a stabilized wooden bracelet?
Making a stable wooden bracelet is a fine process involving multiple steps, mainly including material selection, design, processing, grinding and polishing. Here's a detailed guide:
1, material selection
Wood choice: Stable wood is very suitable for making bracelets due to its unique texture and color. Commonly used wood including maple, birch, oak, basswood, ash, elm, walnut and so on. These woods are relatively inexpensive and easy to process, while exhibiting the unique beauty of stable wood.
Check the wood: Make sure that the selected wood is dry, free of cracks and insects, and that the grain is clear and beautiful.

2. Design
Bracelet style: According to personal preferences and use of the bracelet, design the style of the bracelet, including the size, shape, arrangement of the beads.
Measurement: Determine the length of the bracelet and the size of the bead based on the wearer's wrist size.
3, processing
Cutting wood: Use a saw or cutter to cut wood into appropriately sized squares or cylinders. If you are making a bead bracelet, you need to cut the wood into smaller squares for subsequent processing into beads.

Punch a hole: Punch a hole in the middle of a wooden block for subsequent threading. When punching holes, pay attention to keep the holes vertical and smooth to avoid affecting the beauty of the bracelet and wearing comfort.

Bead grinding: If you make a bead bracelet, you need to use a bead grinding machine to process the wood block into a bead. In the grinding process, it is necessary to constantly adjust the machine parameters and manual grinding to ensure that the size of the ball is consistent and the surface is smooth.
4.Grinding and polishing
Edging: Use a table grinder and a self-adhesive disk to remove the edges and corners of wood blocks or beads to make them more round and smooth.
Sandpaper grinding: From coarse to fine, gradually use different mesh sandpaper for grinding to remove the rough feeling and scratches on the surface. Usually start with 80 mesh and gradually transition to a finer sandpaper, such as 3000 mesh, to obtain a smooth, mirror-like surface.

Polishing: Use polishing paste or polishing cloth to polish the wood to further enhance the gloss and feel of the surface.
5.Assembly and finishing
Thread: Thread the polished beads with thin thread or elastic rope, paying attention to keep the beads arranged neatly and evenly spaced.

Knot: Tie knots at both ends of the bracelet to keep the beads from falling off. Use diamond knot or other beautiful and strong knot method when tying.
Check the quality: Finally check the overall quality of the bracelet, including the smoothness of the beads, the uniformity of the arrangement and the firmness of the knot.
Through the above steps, a beautiful stable wooden bracelet is made. It should be noted that the production process requires patience and care to ensure that every step of the way to achieve the best results. At the same time, the maintenance of the stable wooden bracelet is also important, avoid long-term contact with moisture and chemicals, and regularly wipe with a soft cloth to maintain luster.


Leave a comment
Please note, comments need to be approved before they are published.